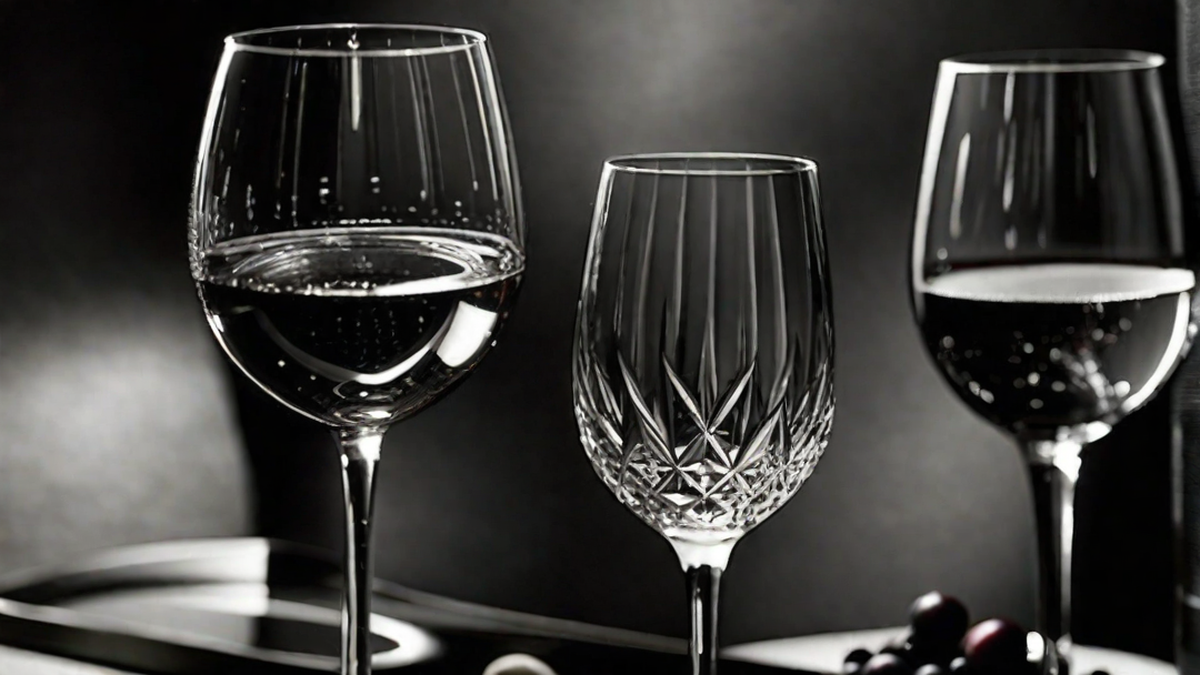
Decorating wine glasses through the process of etching can be an enjoyable and imaginative method to incorporate a personal flair to your collection of glassware. Regardless of whether you’re aiming to make a one-of-a-kind present or simply wanting to elevate your own wine glasses, etching offers boundless opportunities for individualization. In this article, I will lead you through the sequential steps of etching wine glasses and impart some of my own helpful pointers and techniques.
Materials Needed
- Glass wine glasses
- Glass etching cream
- Painter’s tape or adhesive vinyl
- Stencils or designs
- Paintbrushes
- Rubber gloves
- Protective eyewear
Before we begin, it’s important to gather all the necessary materials. Make sure you have a well-ventilated work area and wear rubber gloves and protective eyewear to protect yourself from any potential hazards.
Step 1: Clean and Prepare the Glasses
The first step in etching wine glasses is to thoroughly clean and prepare the glass surface. Use warm soapy water to remove any dirt, grease, or fingerprints. Rinse the glasses thoroughly and allow them to dry completely before moving on to the next step.
Step 2: Apply the Design
Once the glasses are dry, it’s time to apply the design. You can either create your own stencils or use pre-made designs. If you’re feeling adventurous, you can freehand your design using painter’s tape or adhesive vinyl. Alternatively, you can find stencils online or at a craft store. Carefully position the stencil on the glass, making sure it adheres firmly.
Step 3: Apply the Etching Cream
Now comes the exciting part – applying the etching cream! Put on your rubber gloves and use a paintbrush to apply a thick, even layer of etching cream over the exposed areas of the stencil. Be generous with the cream, as this will ensure a deeper etch. Make sure to avoid getting any cream on the areas you want to remain clear.
Step 4: Wait and Rinse
After applying the etching cream, you’ll need to let it sit for the recommended amount of time specified on the product label. This usually ranges from 5 to 10 minutes. While you wait, you can use this time to clean up your work area or enjoy a glass of wine!
Once the time is up, carefully rinse off the etching cream under running water to remove all traces of the cream. Take off the stencil and rinse the glass thoroughly to ensure that all residue has been removed.
Step 5: Finishing Touches
After rinsing, give the glass one final clean with warm soapy water to remove any remaining cream residue. Pat the glass dry with a clean cloth or towel. Now, stand back and admire your beautiful etched wine glass!
Remember, etching is not limited to wine glasses – you can also use this technique on other glassware, such as champagne flutes, beer mugs, or even mirrors and windows. Get creative and experiment with different designs and patterns to make truly unique pieces.
Conclusion
Etching wine glasses allows you to create stunning, personalized pieces that add a touch of elegance to any occasion. With just a few simple steps and some imagination, you can transform plain glassware into beautiful works of art. So why not give it a try and start etching your own wine glasses today?
